faq:domain_and_web_hosting:install_wordpress
This is an old revision of the document!
How to install Wordpress via voPanel
To install Wordpress for your website, first you need to activate LAMP for your website hosting.
You can either install it manually, or follow the steps below to install Wordpress from voPanel.
- Login as the Avomaster or voadmin.
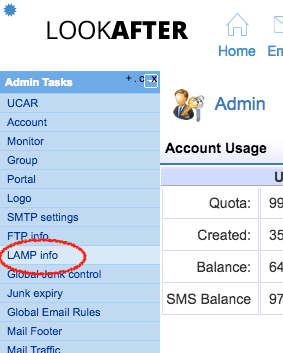
- Go to Profile → Admin Tasks.
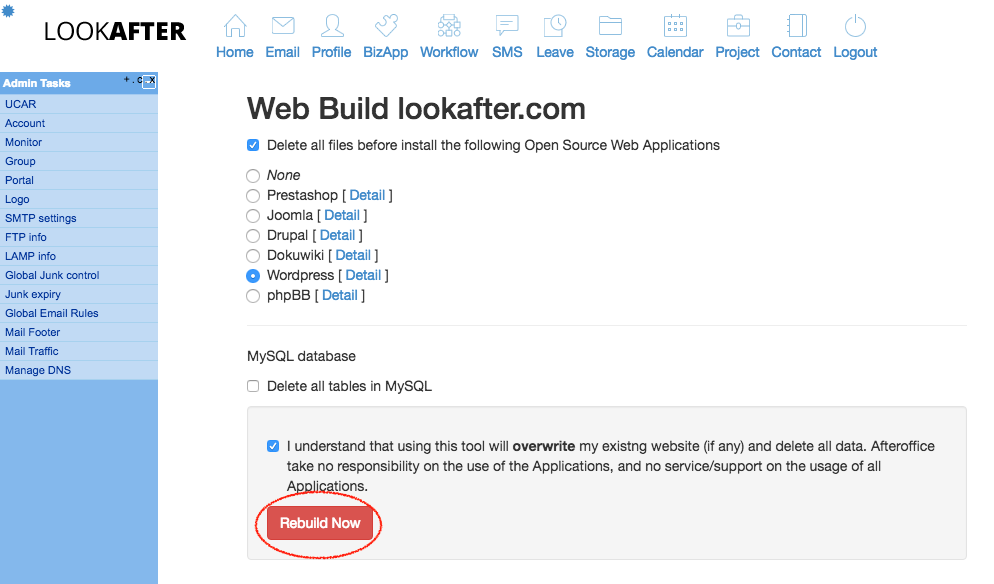
- Click [Rebuild Now].
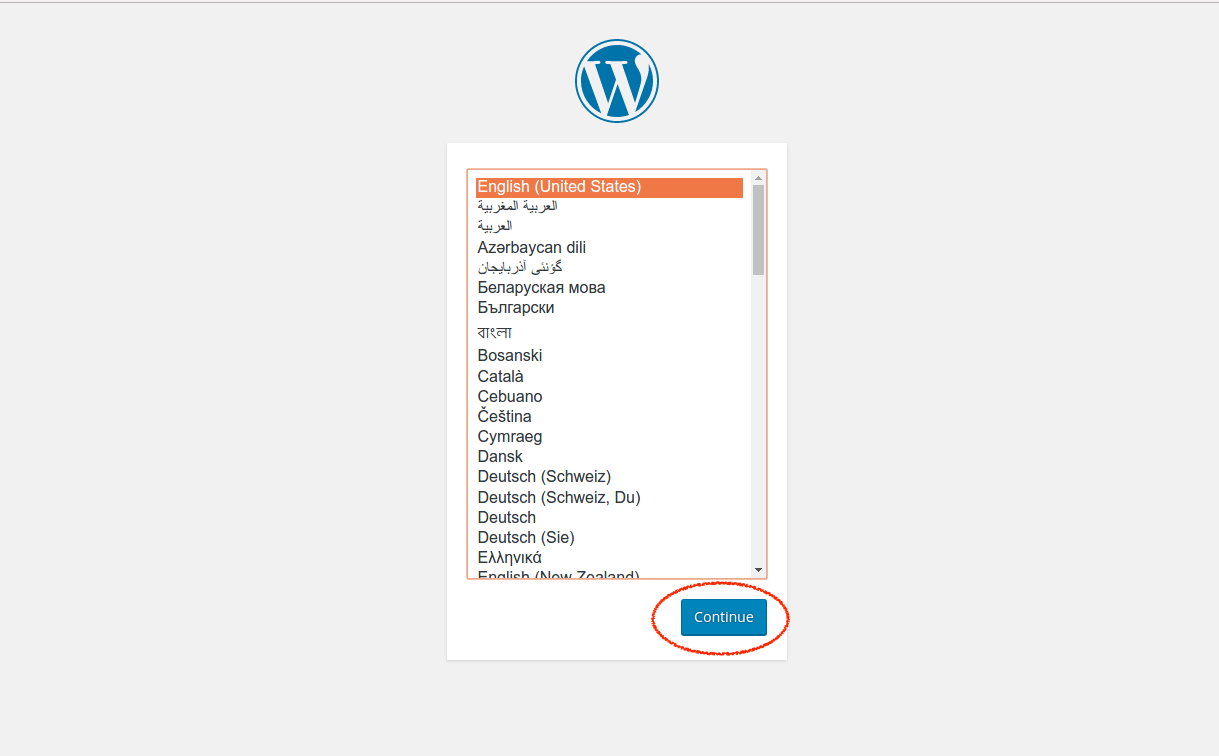
IMPORTANT: Please backup your website data before proceeding. - Now, go to your website at www.yourwebsite.com, and you will see the following screen.
Select your preferred language and click [Continue].
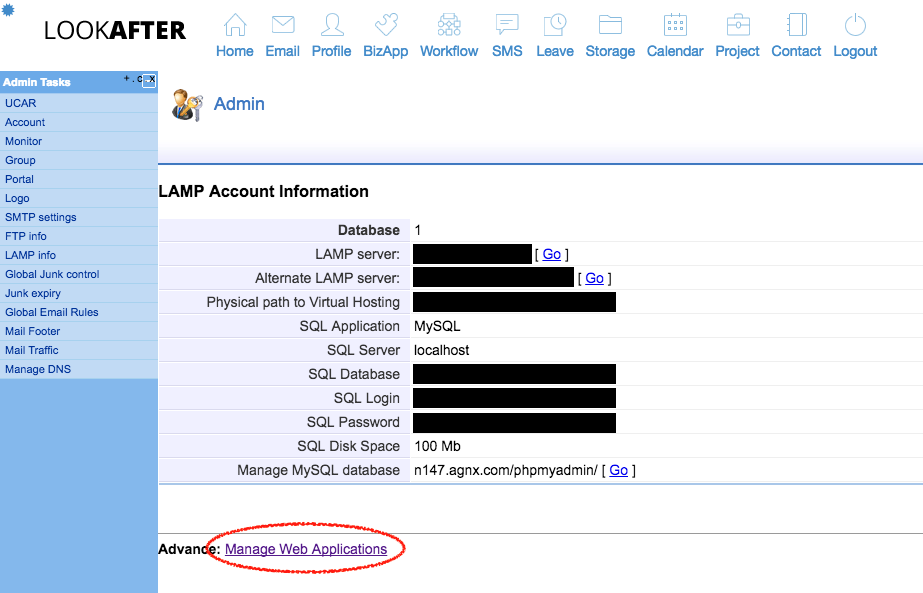
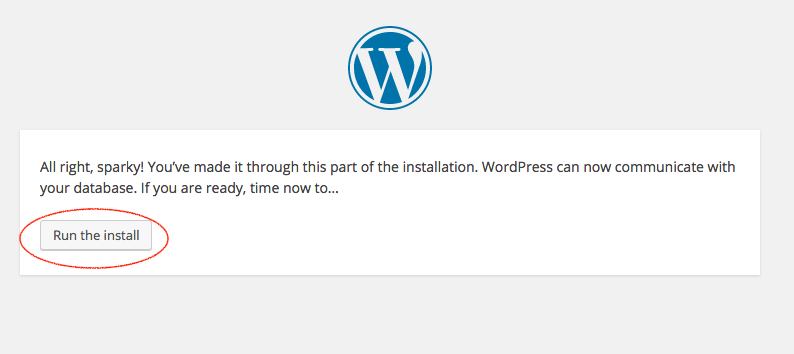
- You need to obtain the LAMP information from your Avomaster/admin before you can proceed to setup on the next step.
Once you have got this piece of information ready, click [Let's go!].

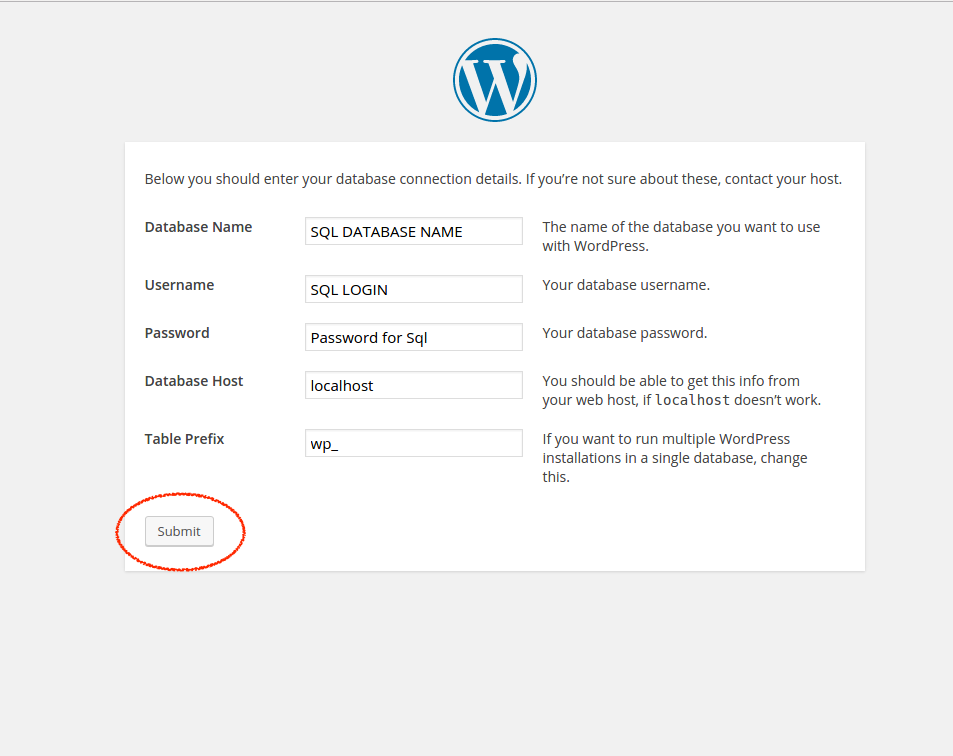
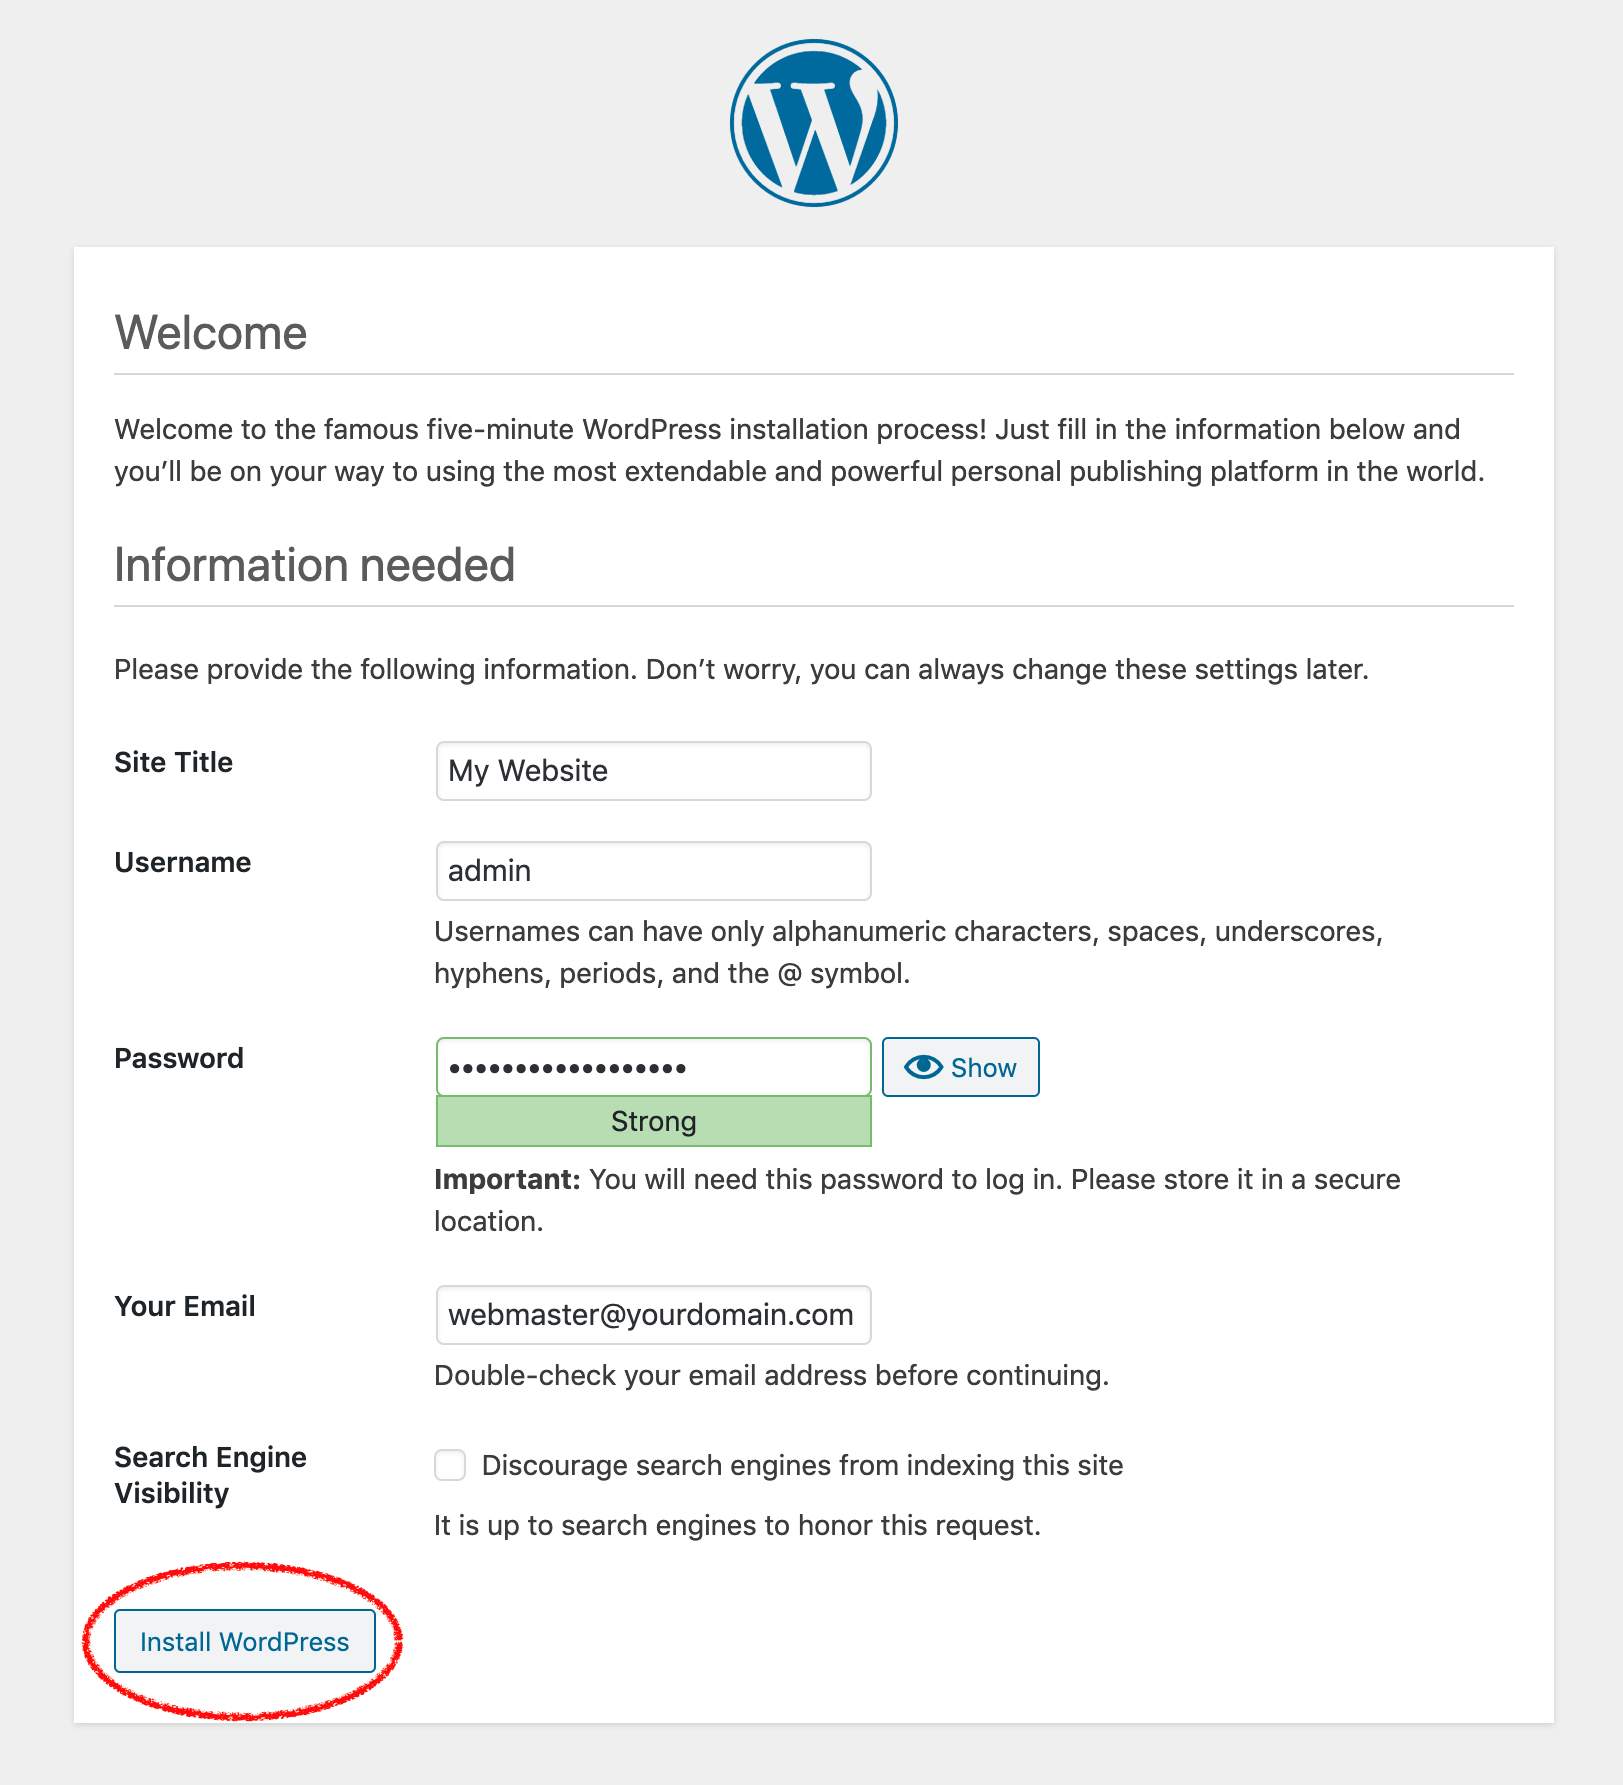
- Once all information has been filled, click [Submit].
**Note that you may need to backup your existing website data first before installing Wordpress.
faq/domain_and_web_hosting/install_wordpress.1596446327.txt.gz · Last modified: by vikki

